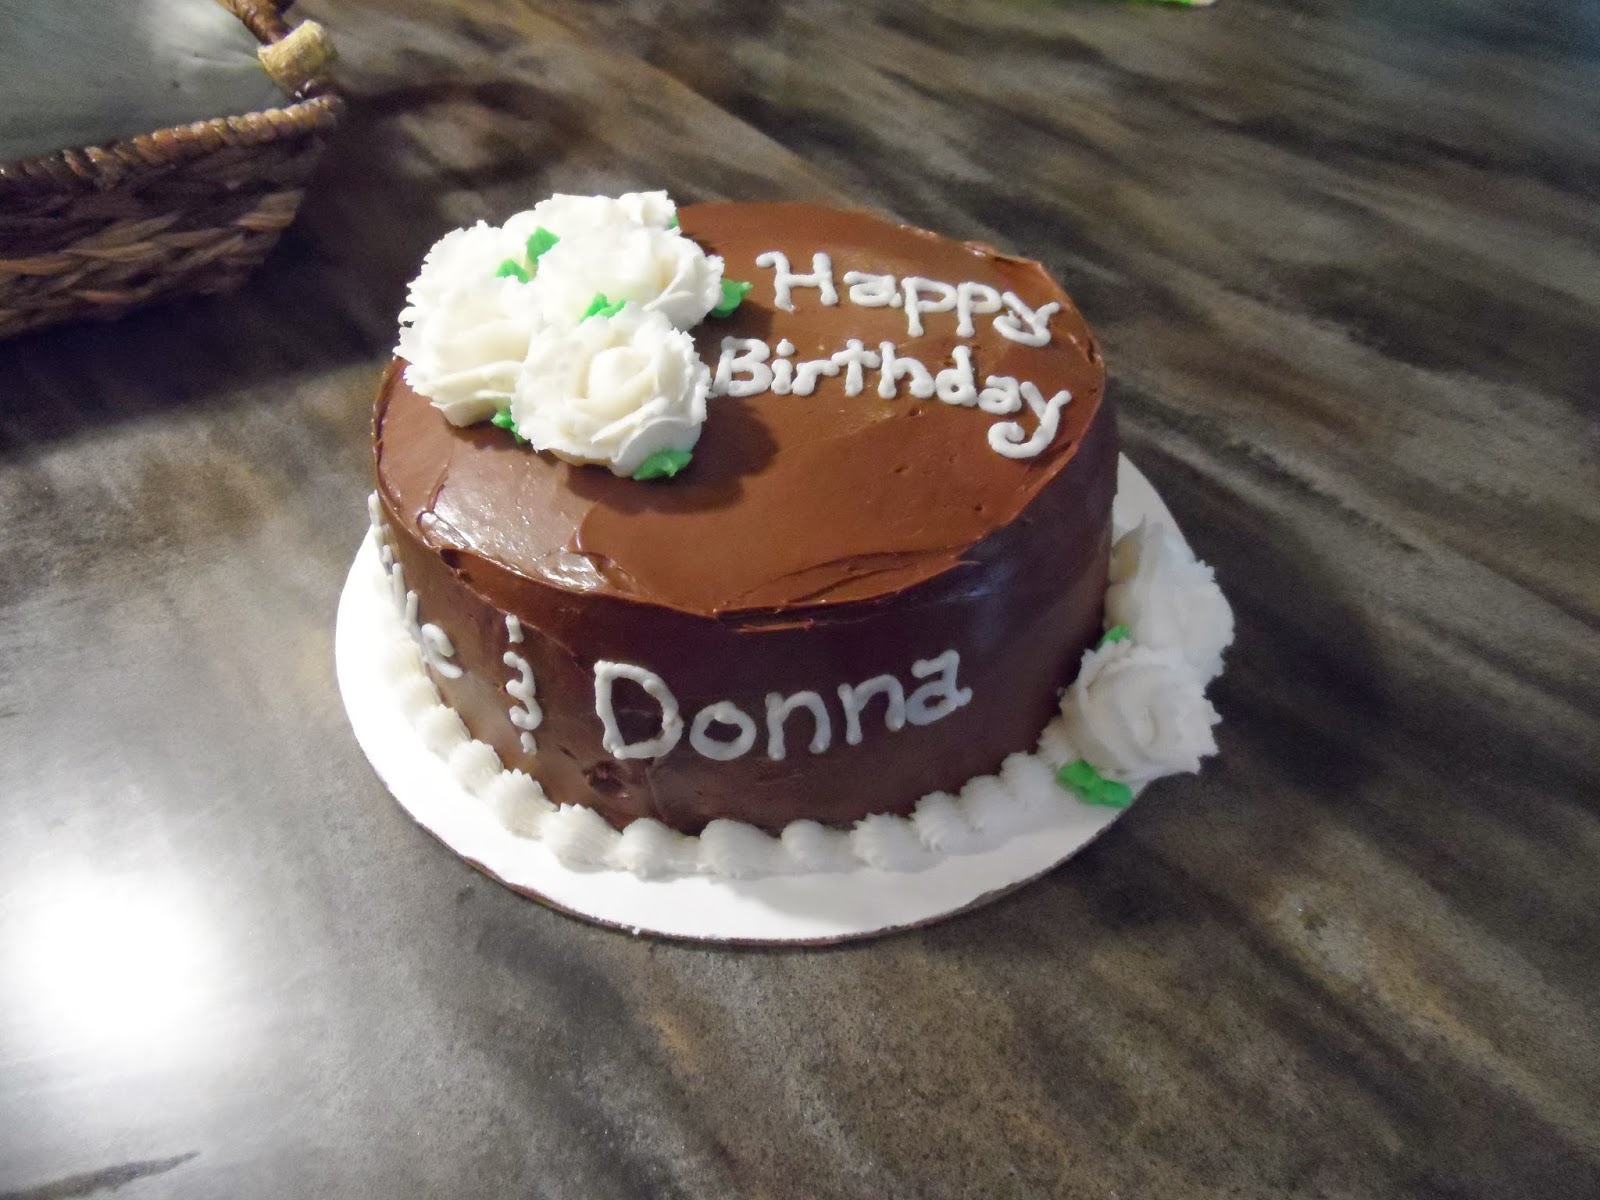
Sunday, October 12, 2014

My first wedding

Hello Readers!
Aren't these beautiful?
I made these for a wedding, and they turned out beautifully! If you remember, I actually the same thing for the Victorian cupcakes. They are just in white, and have really cool cupcake wrappers.
And by the way, Thumbs up to the new Wilton boxes! They are so much sturdier than the others, and I was able to transport all 160 cupcakes in them without any of them breaking!

Thanks for reading!
Keep Baking!

Socialbutterfly
 

Victorian Cupcakes

Hello Readers!
Look at these gorgeous cupcakes that I did for a little girl's birthday!
 
These were so pretty, and so easy to do! The first step was to create the flowers that were on top of some of them. The smaller flowers are violets, and the larger ones are prim roses.
I made three different kinds:
The ones on the far left were probably the most simple to do. All they are, is a swirl of frosting, with edible pearls from Wilton, and a buttercream flower on top.
The ones in the middle:
 Were also pretty simple. I just frosted the cupcake, then I took a large star tip and piped stars all over. Then I put edible pearls in the middle of each "star", and added leaves.
 
The Last ones were a bit trickier. I used my large star tip and made a shell border around the edge, then I piped a large mound in the middle. I added leaves and put on some edible pearls. 


Thanks for reading!
Keep Baking!
 
Socialbutterfly

Friday, October 3, 2014

Two cakes

Hello readers!

Today I made two cakes:


 The one on the left is a dark chocolate cake with chocolate ganache filling, and fudge frosting.
The decorations are white wilton roses made with a #104 tip, and green leaves, and a white shell border using a #32 closed star tip.


The one on the right is a yellow cake with raspberry filling and cream cheese frosting. The decorations are smaller wilton roses using a #101 tip and the color was made by adding some golden yellow to pink. the shell border is made with a #32 closed star tip, and green leaves.
 
Thank you for reading!
 
Socialbutterfly


Tuesday, June 10, 2014

Summer Testing

Hello Readers!
 Summer is here, which means no school, and a little more time to relax. But, as summer gets closer, cake orders become more frequent. But this year I am determined to try some new recipes to add to my "menu". Here is a list of what I am hoping to try this summer:

Gluten-free:
Lemonade Cake
Hot Cocoa Cake (really want to try this one!)
Passion Fruit
Chocolate Orange
Banana
Strawberry
Chocolate
Yellow
White

Regular:
Red Velvet Cake
Lemonade Cake
Hot Cocoa Cake
Passion Fruit Cake
Orange Cake


Yes, you read right! Gluten-Free Lemonade Cake. Sounds a little weird. I heard it is really good, and decided that I should try to convert it to a Gluten-Free cake, so that my little brother, Beany, can have it. Plus, it would be a good edition to my business, on account of how many people are Gluten-Free. I am also working on adding Dairy-Free as well, on account of my other brother, Builder, not being able to have Dairy, which is really hard on him, since he is the first one that offers to lick the spoon! Now since two of my brothers have restrictions, that helps me in a way, because they are my official taste testers. I also have a few friends who would love to help me. Who knows, maybe I will figure out a Gluten-Free recipe that is really good!
Thanks for reading!

Keep Baking!

Socialbutterfly


Wednesday, February 26, 2014

~How To~

Here's another "How To"! Don't worry if you are getting tired of the "How To's", I'll soon be posting about how to make a cake from a box taste like a cake made from scratch.
Anyway let's get to it!
This cake is a triple chocolate cake, filled with dark chocolate ganache. 
You can either use canned frosting, or make your own dark chocolate frosting.
After you have made your frosting, frost the cake generously with it.
Then place Hershey's kisses and pipe stars around then as well as on on top of
each. Then with a larger tip, pipe stars around the bottom for a boarder.
Then pipe on the words.
This cake was made for my neighbor's radio station.
Thanks for reading!
Keep Baking!

...Socialbutterfly...


Monday, February 24, 2014

~ How To ~

Hello Readers!
Today I will be showing you how to decorate this cake:
 Isn't it pretty? 
Ok so to get started, the first thing you do is bake two heart-shaped cakes. Then you want to cut a little bit out of one of the hearts, and fit the two together to look like they are interlocking.
 Then you frost your cake with whatever frosting you desire. I was making a sugar free cake (I know, right?) for an anniversary, so I used white, but you can use what ever color you want. Then you do a simple shell border around the bottom.
 Then just like the bottom you do a shell border around the top: 
Like I said before, you can use what ever colors you want. This is just what the customer wanted for this particular cake. The next step is to add your roses. I made the Wilton style rose, but you can use what ever flowers you want, it all depends on your preference. You are going to want to put an odd number of roses on each side of your cake, I know it sounds weird, but it makes the cake look a lot prettier.
 With all the flowers placed:
Then the next thing, and this is important if you have made any mistakes in the process of transporting your flowers to the cake, is to add the leaves. With leaves you can add as many as you need, and it makes the roses stand out a bit more, as well as hide any mistakes. ;) 

And finally the next thing you do is add your writing. You can also add rings, to symbolize marriage, but I didn't here. You can also add anything else you think it needs depending on the reason you made this cake. :)


 This is a great, and simple cake for any occasion.

Thanks for reading my blog!
Keep Baking!
Socialbutterfly

Saturday, February 22, 2014

Cupcakes for a graduate!

How many cupcakes do you think there are? Well, there are 150! I had to bake and decorate 150 cupcakes for a graduation party and I only had 2 weeks to actually do all the baking. It took 2 weeks to experiment with the different flavors. The first flavor was just plain vanilla with buttercream frosting. The second flavor was German chocolate with it's special coconut frosting, which is more like a filling then an icing, but is still delicious! The third flavor was a dark chocolate cupcake with raspberry filling/frosting. The filling/frosting is regular raspberry filling, but mixed with whipped cream
 to give it a fluffy texture. It is really good!
 The fourth cupcake is an apple cupcake, with a caramel apple filling, and a caramel apple frosting, which incorporates the apple filling as one of the ingredients. The fifth cupcake is a chocolate cupcake with peanut butting frosting. These were topped with graduation hats that I made with a peanut butter cup, Ghirardelli caramel filled chocolate square, and topped with yellow licorice. (seen below)  And the sixth and final cupcake flavor is a mocha flavored cupcake with a mocha buttercream. For the recipes of the apple and the coffee flavored cupcakes, I will post the links on my list of recipes, (on the side bar of my blog). The apple one is from Java Cupcake, and the coffee one is from Brown Eyed Baker.
Socialbutterfly